High altitude passes. Steep downhill trails. Long trekking days.
Let’s talk about the Salkantay trek difficulty!
If you’re wondering how hard it is (and whether it’s really as difficult as some people say), you’ve come to the right place.
I recently did the 5-day Salkantay trek to Machu Picchu with my mom and have covered everything you need to know about how difficult it is in this post.
Quick Navigation
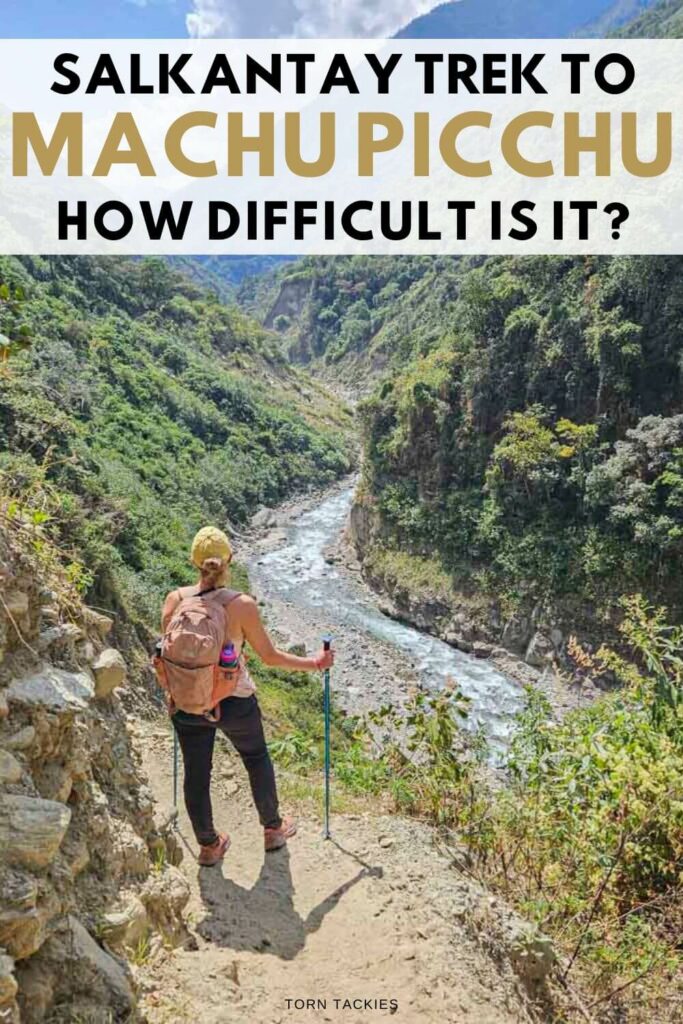
How difficult is the Salkantay trek to Machu Picchu
- Total distance: 74 km over 4 days (the 5th day is at Machu Picchu)
- Highest point: 4,630m at the Salkantay Pass
- What makes it challenging: High altitude and lots of walking
The Salkantay trek is difficult as it gains altitude on days 1 and 2, and is a long, 74 km trail.
But it’s not a technical hike and is doable with little training (depending on your physical condition).
Here are all the factors contributing to the Salkantay trek’s difficulty.
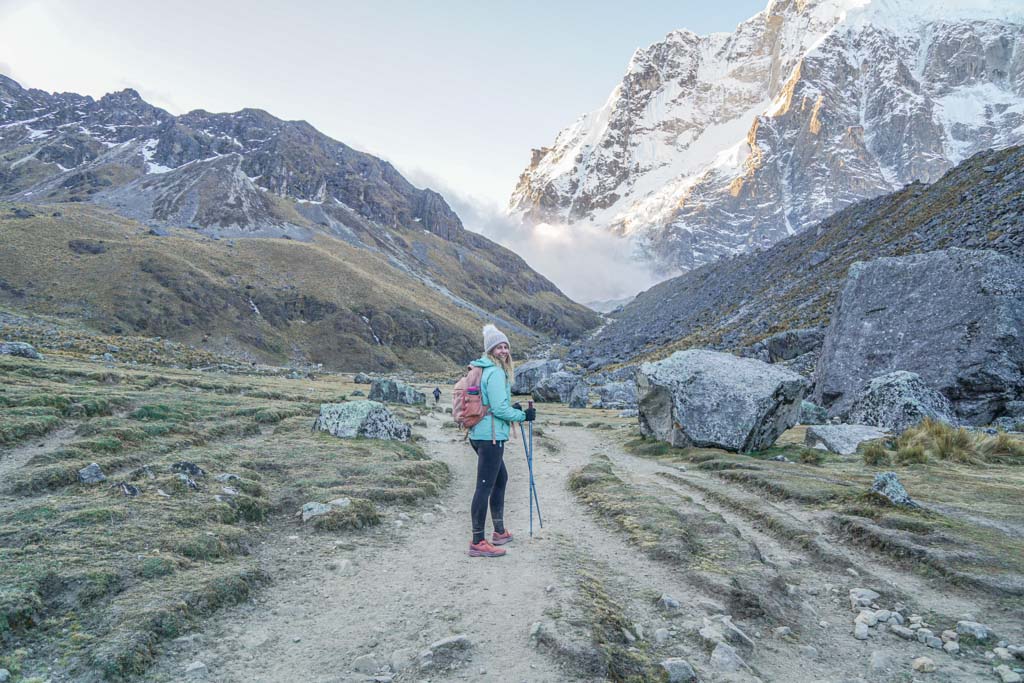
The altitude of the Salkantay Pass: The most difficult part of the Salkantay trek
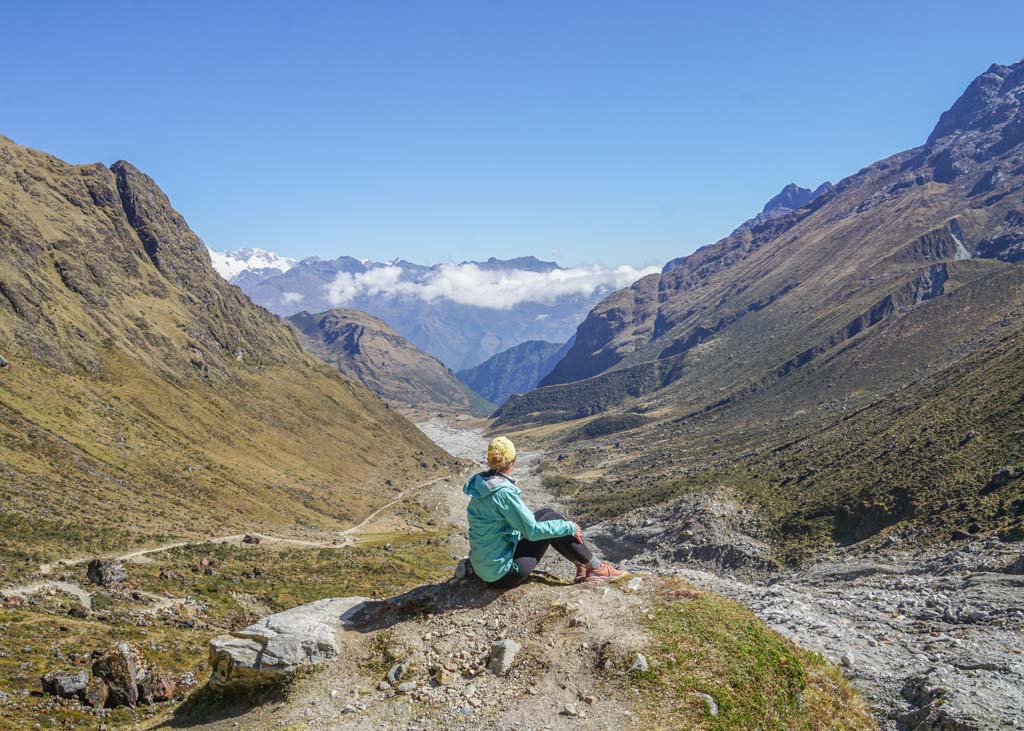
On day 2 of the Salkantay trek, you’ll reach the Salkantay Pass. At 4 630m, it’s the highest point of the trek.
Getting to the Salkantay Pass is challenging and an accomplishment in itself.
The air is much thinner here, and you’ll walk gradually for 3 to 4 hours before reaching the pass.
Every step will be difficult. But take it slow and steady, and don’t feel pressured to go any faster than you can.
Acute Mountain Sickness
As you ascend the Salkantay pass, you may experience headaches and even vomiting.
These are symptoms of AMS – Acute Mountain Sickness.
To avoid AMS, drink lots of water during the trek, walk slowly and concentrate on your breathing.
Remember, it’s not a race, so take it slow.
Neither myself nor my mom (who is in her 60’s) had any symptoms of altitude sickness. However, our guide did share a few stories of people who had gotten sick during the Salkantay trek and needed to return to Cusco.
How much time you spend in Cusco
The key to acclimatizing properly is to spend time at altitude before taking on a higher climb.
If you’re coming from Lima (which is at sea level) and starting the Salkantay trek the next day, you will struggle with the altitude. Trust me on this one.
I recommend spending at least two nights in Cusco, which is at 3,399m. This will allow your body to adapt to the higher elevation.
Cusco is a fantastic city with some of the best restaurants in Peru. You can also visit Sacred Valley, one of my Peru highlights.
Here are some of the best places to stay in Cusco, which make for the perfect base before or after your trek.
The downhill on day 4 will get to your knees
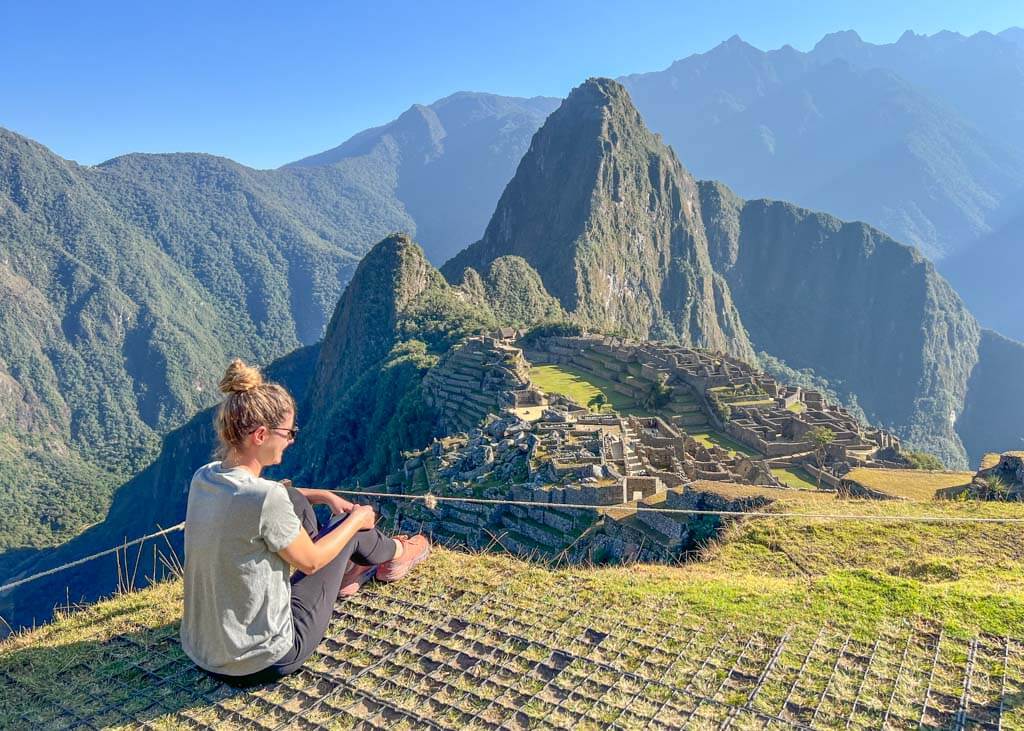
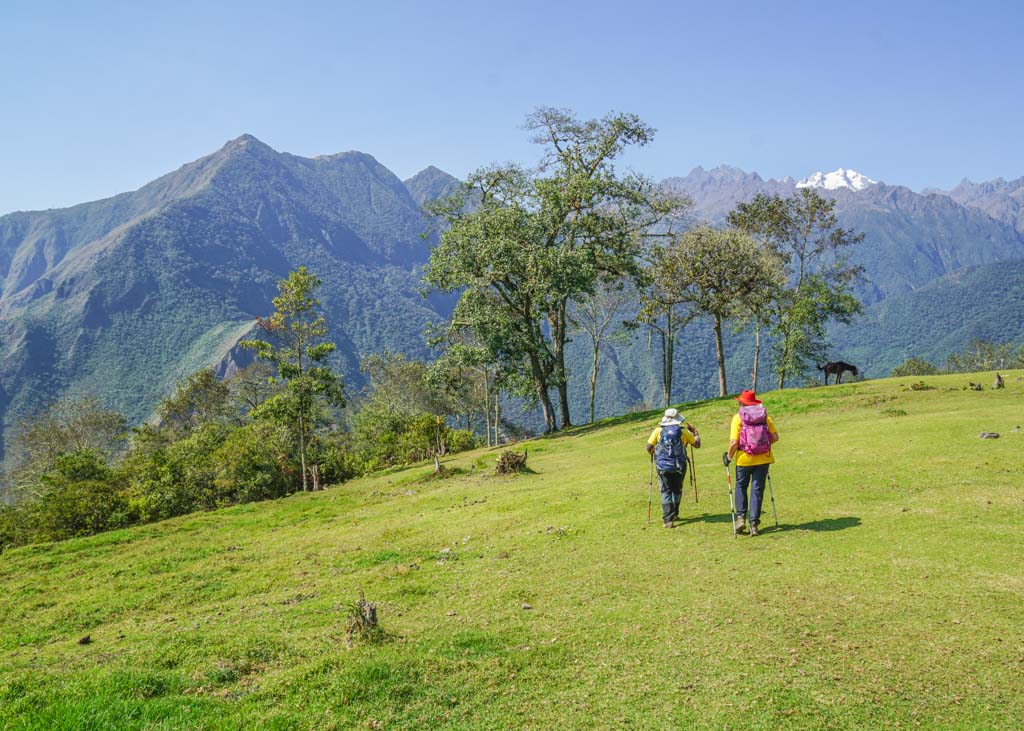
On day 4 of the Salkantay trek, you’ll visit the ancient ruins of Llactapata. This archaeological site sits at 2,840m and overlooks Machu Picchu mountain.
To get to Llactapata, it’s a steep uphill climb from Lucmabamba (2,000m).
You’ll need to walk from 2,000m to 2,840m in under 3 hours. But this isn’t the worst part.
It’s getting back down!
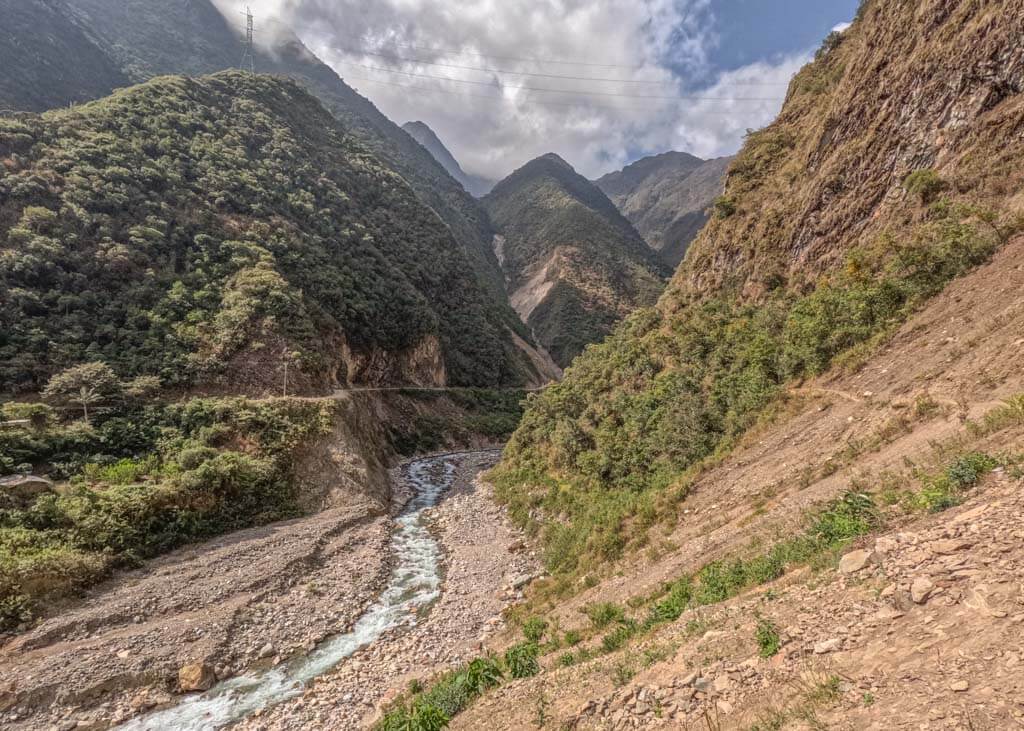
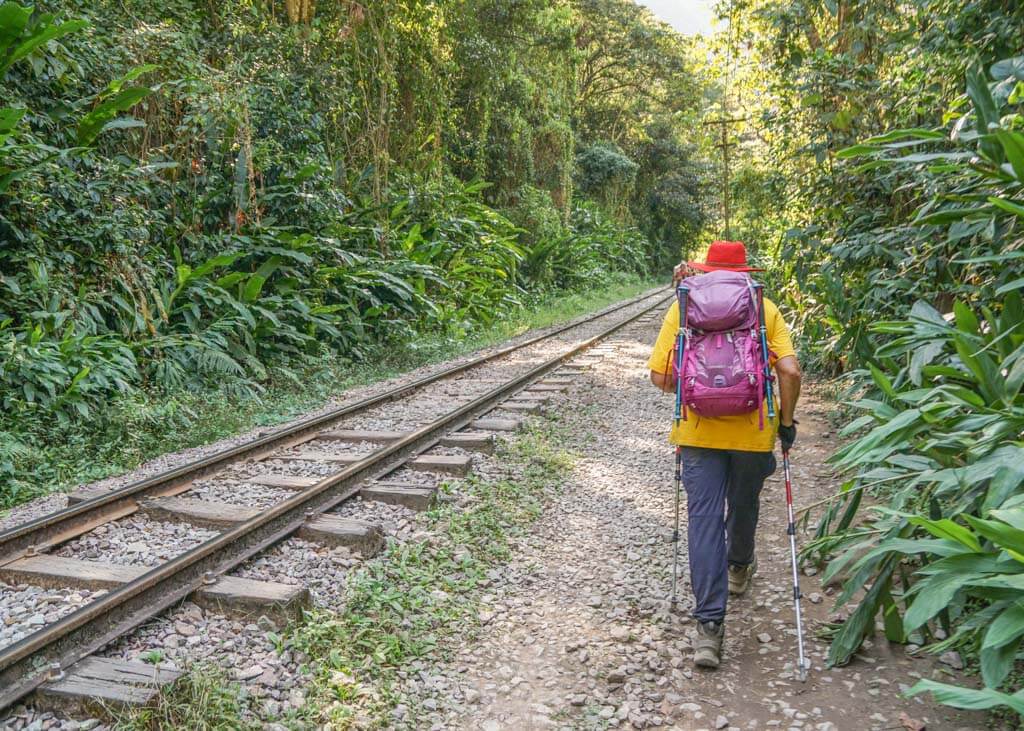
After reaching Llactapata, you’ll walk down a steep hill on the other side of the mountain. This section starts at 2,840m, and you’ll get to Hidroelectrica (1,890m) in under 3 hours.
My knees were aching by the time we got to the bottom.
This trail is also rugged and slippery in some areas. My mom and a few other people wiped out a couple of times.
The total distance is one of the biggest factors of the Salkantay trek difficulty
The standard Salkantay trek is 5 days. This includes 4 days of hiking from Soraypampa to Aguas Calientes. You’ll spend the 5th and final day exploring Machu Picchu.
Over the four days leading up to Machu Picchu, you’ll trek a total of 74 km. That’s just under 20km per day.
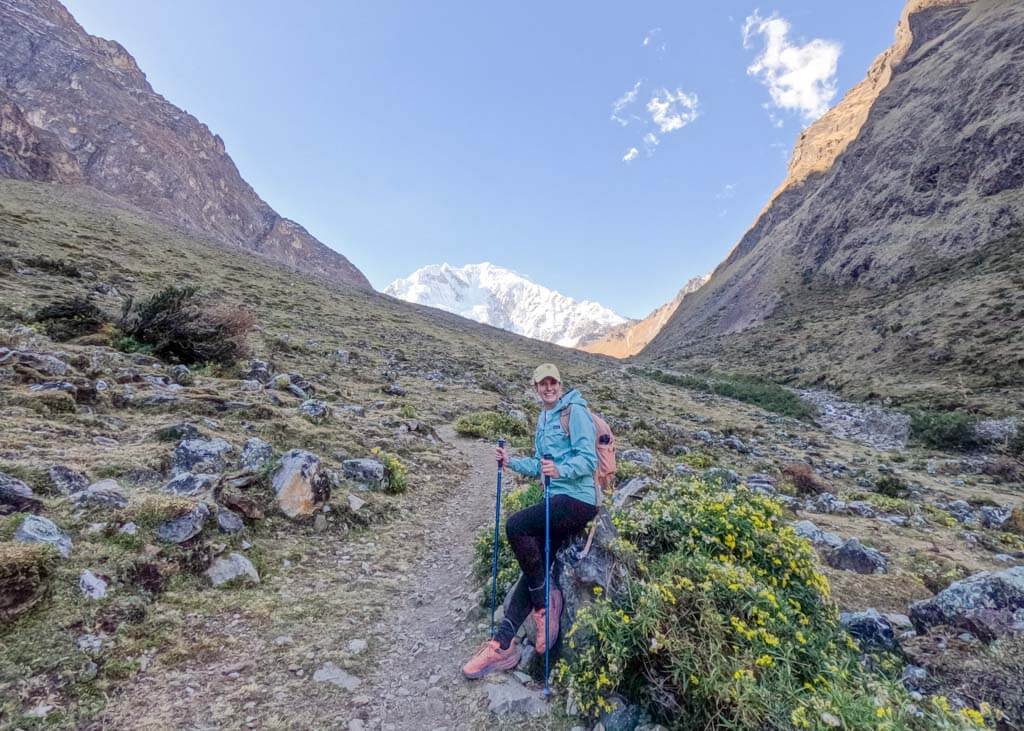
It’s not a flat trail, so the days are long and tough. We were hiking for 6 to 8 hours daily, and my legs took strain.
The pace of your group
The size of your group and how fast they walk will affect your experience of the Salkantay trek.
If you’re generally a fast hiker at altitude (which I am not), you will be fine.
But if you prefer to take your time and enjoy the hike (instead of struggling for every breath), you may want to ensure you book a small group tour.
This will allow you to walk at your own pace without being rushed.
Booking a Private Tour or not
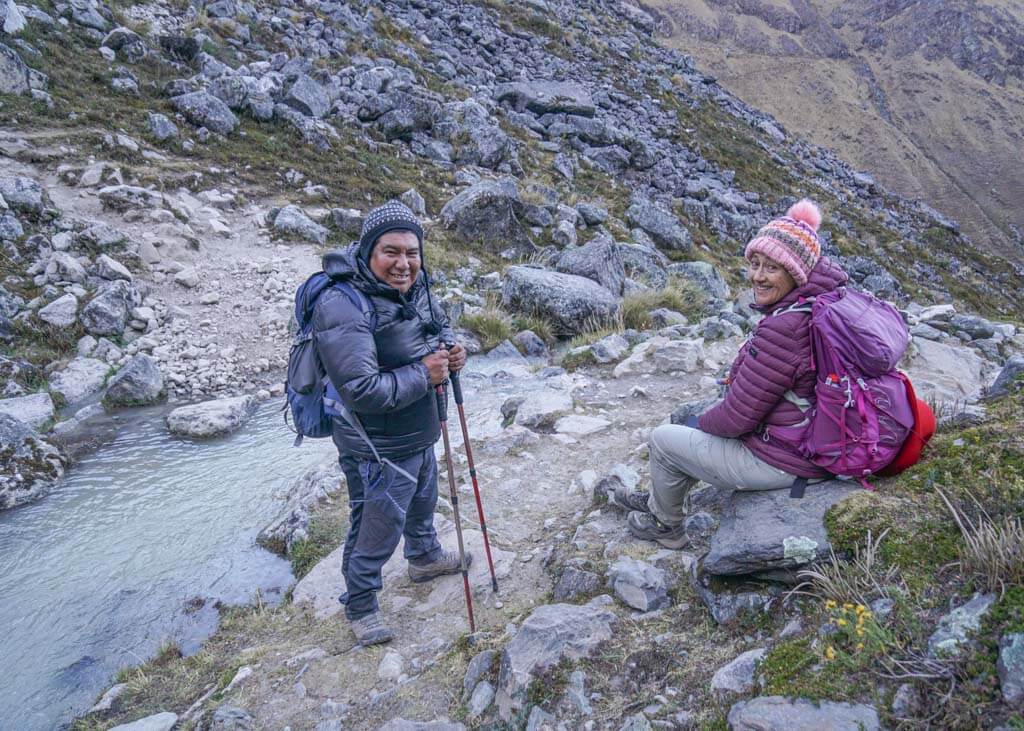
My mom and I did a private tour with Inkayni Peru Tours, and I’m so happy with our decision.
We took our time getting to the Salkantay Pass and had many breaks to catch our breath and ensure we were acclimatizing responsibly.
We adjusted our schedule based on how we were feeling and didn’t feel pressured to race to the finish line.
Our guide, Percy, was incredible! He was patient when we were ascending the Salkantay Pass, took us to all the best vantage points, and was an encyclopedia when it came to the history of the Incas and Machu Picchu.
If you’re worried about whether the Salkantay trek will be too difficult, I recommend booking a private tour as we did.
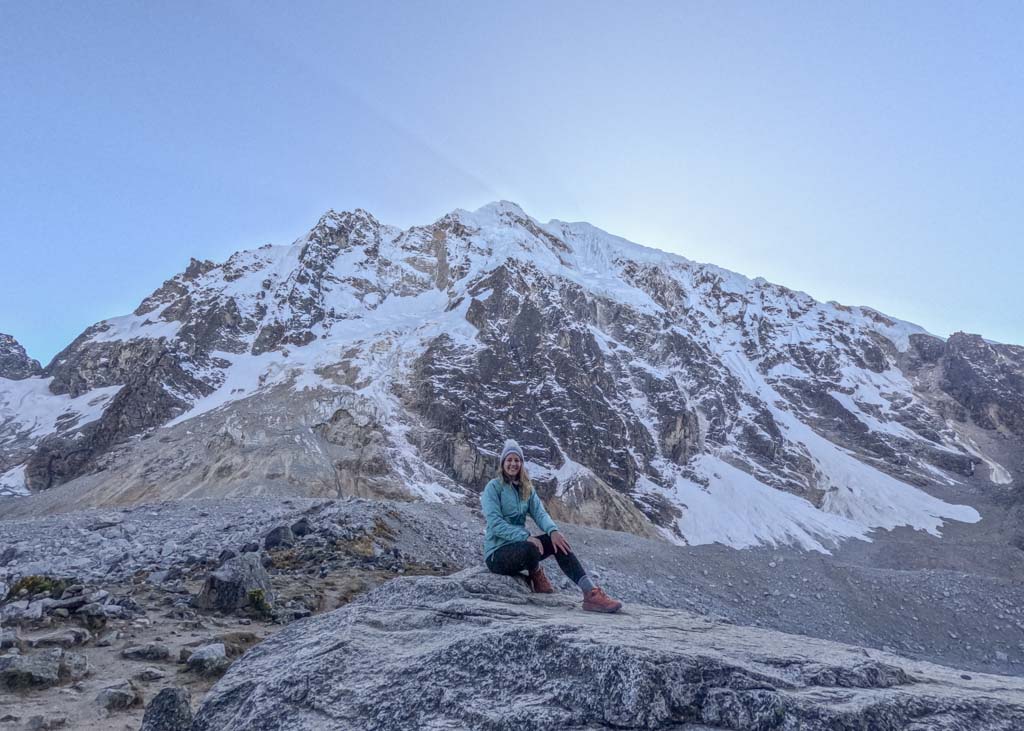
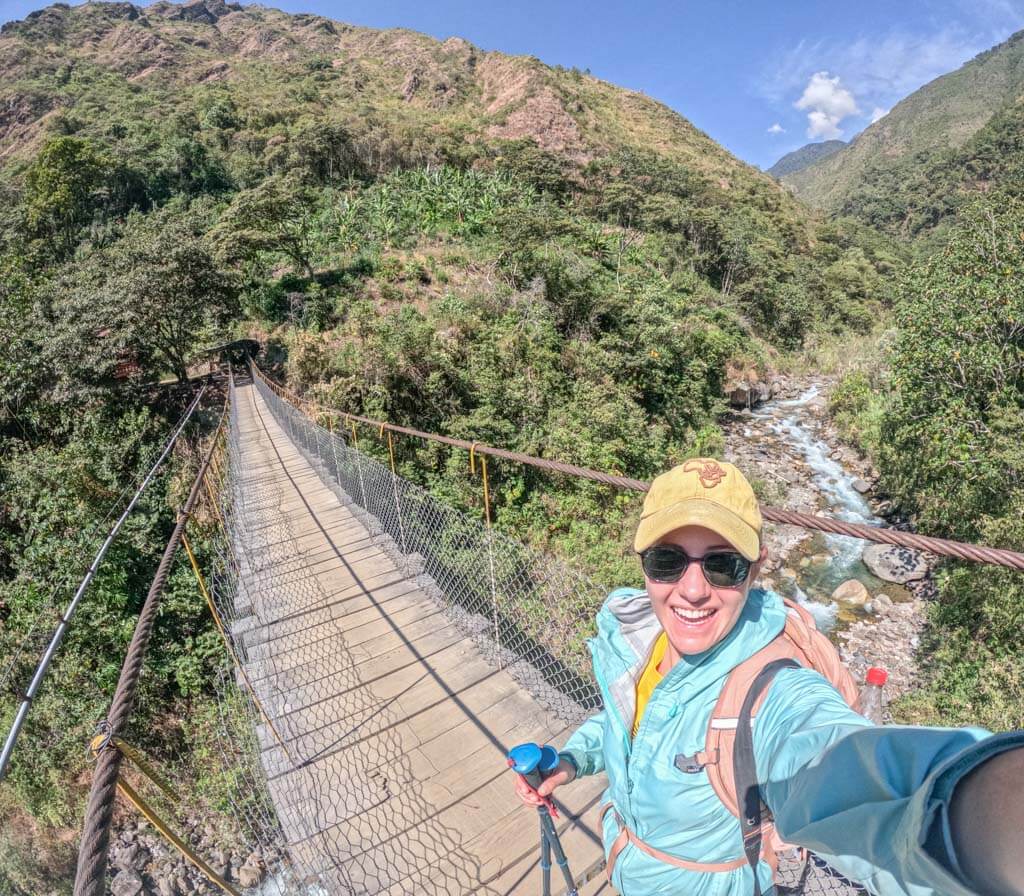
The weather: it gets cold
As the sun sets on day 1, the weather will change. Before you know it, you’ll be layering up with all your warmest gear.
This is because you’re at a higher altitude and closer to the Salkantay Pass on day 1.
You must be prepared for below-freezing temperatures and may struggle to sleep properly.
Luckily, this is only for the first night. After that, you’ll descend from the Salkantay Pass to a lower elevation for the rest of the trek.
Best time to do the Salkantay Trek
The best time to do the Salkantay trek is during the dry months from April to September. I did the trek in July and had perfect weather.
November to March is considered the wet season. While the trails are quieter during this time, you can expect daily rain showers (especially during January and February).
Also note the weather can be unpredictable, even during the drier months. There was snowfall at the Salkantay Pass during May this year (2023), and August is said to have different conditions every day.
Your training for the Salkantay trek
I didn’t do any special training for the Salkantay trek, and neither did my mom. But this is not to say you should skip training!
For context, I completed numerous hikes in South America, including a few high-altitude treks. My mom loves hiking and does a lot of walks back home, but nothing at altitude.
My mom’s one regret was that she didn’t do more steps, as the Salkantay route has a lot of uphill and downhill sections.
You don’t need to change your fitness program if you are in good physical condition and exercise regularly.
But if you don’t do any exercise, you will need to start walking or running a few months before taking on the trek.
What you pack
What you pack for the Salkantay trek will affect your comfort levels and, as a result, how hard you find the trek.
Firstly, you need hiking poles. I don’t usually hike with these, but they were a lifesaver during this trek, especially on the downhill section on day 4.
You’ll also need a warm sleeping bag. Night 1 will be freezing cold, and you won’t get a good night’s rest unless you’re adequately prepared.
Food and accommodation: you get what you pay for
While we’re talking about comfort, let’s discuss the two other factors that significantly impact this.
It’s the food and accommodation. When it comes to both, you get what you pay for.
If you book a budget tour, you cannot expect to eat like kings. The same goes for accommodation and your sleeping arrangements.
My experience? I ate better during the Salkantay trek than I did at home. The food prepared by Inkayni was absolutely delicious, and our accommodation was really comfortable and warm – even though we were camping.
I met a traveler along the route who would not stop complaining about the food and accommodation provided by her tour operator – whom she paid next to nothing for.
Every time we crossed paths, she would mention the small food portions with no flavor and the terrible and unhygienic cooking setup. And don’t get me started on what she said about her accommodation!
The moral of the story, do your research. If you want to get a good night’s sleep and be adequately fuelled up for the long trekking days, be prepared to pay a bit more for your tour.
Is the Salkantay trek harder than the Inca trail?
After chatting with my guides and a number of other people, the general consensus is that the Salkantay Trek is more difficult than the Inca Trail.
This is because the Salkantay trek is a total of 74 km, while the Inca Trail is only 43 km. It also reaches a higher altitude. However, the Inca Trail has a lot more steps, and the landscape is totally different.
Here’s my post detailing the 12 main differences between the Inca Trail and Salkantay Trek.
How hard is the Salkantay trek: My experience
These are all factors that contribute to the difficulty of the Salkantay trek.
But don’t let them deter you from doing it.
While I never did any training for the Salkantay trek, I did a lot of hiking during my seven-month backpacking trip, including a few altitude treks.
I found the hike easy, but the distance and constant uphill and downhill got to me.
My mom, in her 60s and with little high-altitude climbing experience, found it a bit more challenging. But she still made it by walking slowly and taking her time.
Like it? Pin it!
Do you have any questions about the Salkantay trek difficulty? Drop me a message in the comments section below
Looking for more Peru travel inspiration? Check out my other posts!
